Introduction
A friend and I recently traveled to Japan for 21 days, starting in Tokyo and working all the way down to Yakushima. One of my favorite sections of the trip, as well a piece of inspiration for the trip in the first place, was biking the Shimanami Kaido. It wasn’t very difficult to setup the journey, but in the interest of helping others who would want to do the same, here’s a detailed account of our Shimanami Kaido expedition.
About the Shimanami Kaido
The Shimanami Kaido is an expressway built across the Seto Inland Sea spanning several islands via a multitude of impressive bridges. The real interesting part is that all these bridges have pedestrian and bike paths so the route has become a sort of cyclists’ haven, offering both relaxing scenic rides or challenging climbs depending on the path you take. The scenery is nothing short of breathtaking and all routes are well marked by blue road stripes, making getting lost nearly impossible. The entirety of the route can be done in one day, or you can take your time and stay in one of the many lodgings available on the islands.
You can find a lot more information on the official Go-Shimanami website. I recommend looking at this cycling guide map which is what we used for route planning and has most of the info you need.
Logistics
Getting there
You can start your journey in either Imabari or Onomichi. We chose to start in Imabari, because we were already on Shikoku island, but going the other way wouldn’t have made a large practical difference. As always is the case with Japan, there are plenty of rail options to get to either city so use Google maps or HyperDia to figure that part out for yourself.
Physical Preparation
I am of the belief that almost anyone that can ride a bike should be able to at least do the “recommended” Shimanami Kaido route on bike, without too much issue. It’s 70km (~43 miles) in total, which is a lot, yes, but if you start early you shouldn’t have a problem taking a leisurely pace. There are some climbs around the bridges but the bridges themselves and most of the recommended path is flat.
If you are interested in the “advanced” routes, they can be challenging, but with determination and the power of friendship I believe even novice cyclists could struggle through. Whether or not the struggle is enjoyable is up to personal interpretation 😈.
Procuring Bikes
If you’re like most people, you won’t be traveling with your bike through Japan, so you will need to rent one. If you are a cycling enthusiast or plan on tackling some of the harder routes, I’d highly recommend getting your bike from the Giant store in Imabari or Onomichi. Both stores are not far from the train stations, nor are they far from the start of the route itself. We rented the carbon road bikes which ended up being full carbon, Shimano 105 groupset bikes, far nicer than anything I’ve ever ridden before. They provide you with tire levers, a pump, lock, and spare tube within a frame bag, so you won’t need to bring any of your own tools. Most importantly, though, they offer one way rentals, so you can start continue your travels without any backtracking. Please note that you need to call ahead in order to reserve a one way rental! We cheated and had a Japanese friend do it for us, but you will probably not have a problem if you try to do it in English, as it seemed most of the staff spoke English themselves or were used to English speaking tourists.
If the price tag on the Giant bikes is scaring you, don’t feel as if you need to have such a nice bike in order to make the journey, almost any bike could tackle the recommended route so long as it fits you properly. Luckily there are other options in the form of rental terminals set up throughout the islands. We saw others using these bikes and passed a few of the terminals ourselves. The bikes seemed fine at a glance, but I can’t provide any detailed info. Do take note of the hours as these are not multi-day/overnight rentals like at Giant.
Dealing with Baggage
Finally, if this is only part of a larger trip, you’ll probably have some luggage with you. Don’t let that stop you from living your Shimanami Kaido dreams! You can ship your luggage with Yamato Transport for a relatively small fee. It’s a simple, fast, and ubiquitous service that you’ve probably seen throughout Japan already. Look for the black cat carrying a kitten, that’s their logo (cute!). You can ask your concierge or host to arrange a shipment to your destination hotel and an agent will come by and pick up your bags within no time. Alternatively you can fill out the form yourself and drop it off at most convenience stores, but I recommend getting help as you want to ensure you’ve got everything in proper order when dealing with your stuff. It cost us ~3000 yen to ship 2 large travel backpacks, and we were able to specify a date so that our stuff would arrive when we did. Originally we were going to just bike with our packs on, and I cannot stress enough how terrible that would have been in hindsight. If you’re doing a one way journey, ship your luggage. It’s worth it!
Our Ride
As stated before, we started in Imabari and ended in Onomichi, so this is from the perspective of travel in that direction only.
Day 1 - Challenge Day
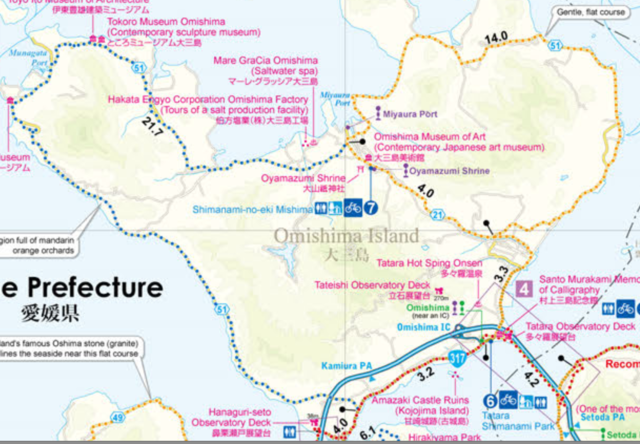
We started off early as possible, not really knowing anything of the route. Our destination was Miyaura Port, a small town on Omishima Island, where we had a guesthouse reservation. I opted to as many of the side routes as I could. I believe this was a great choice, though somewhat trying at times.
Intermediate Route - Oshima Island
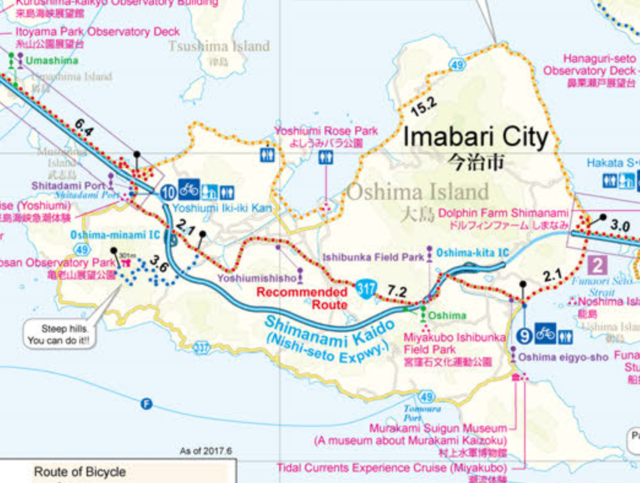
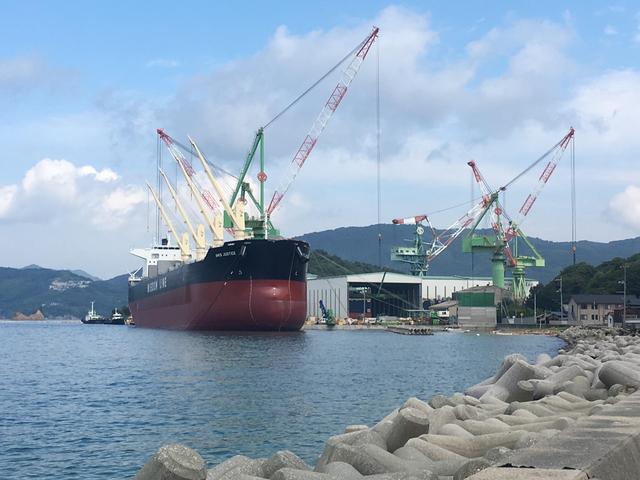
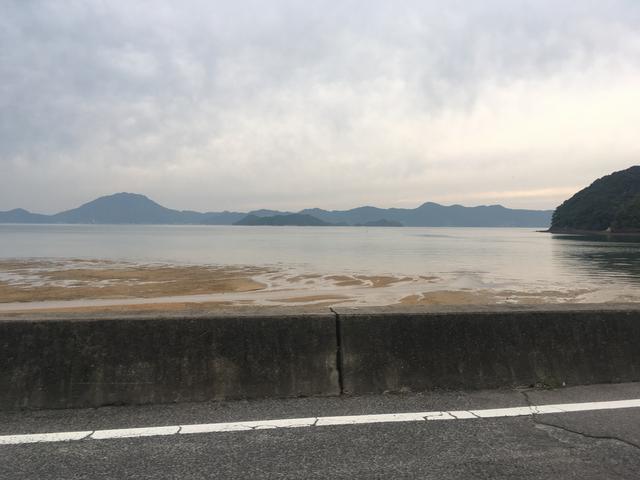
This segment was a very easy ride, overall. There are a few climbs but none that are extreme in grade. It is longer than the recommended route, however, at 15.2km. It runs along the coast of Oshima Island and you get to pass by a shipyard and see massive pieces of container ships being put together.
Advanced Route (Loop) - Hakatajima Island
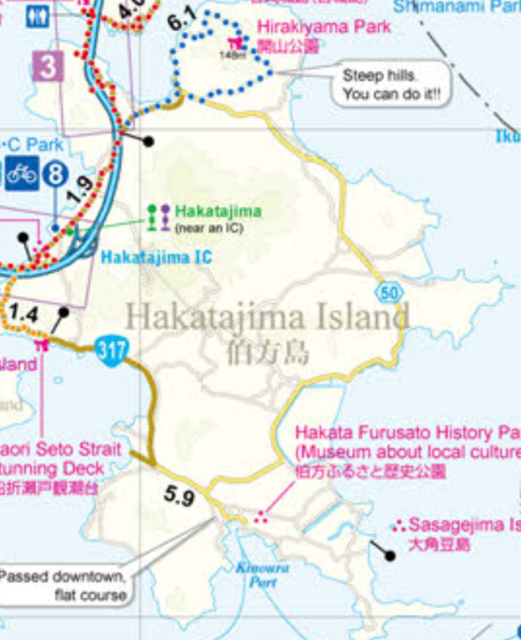
The recommended route through Hakatajima is very short, you ride through it in a flash.
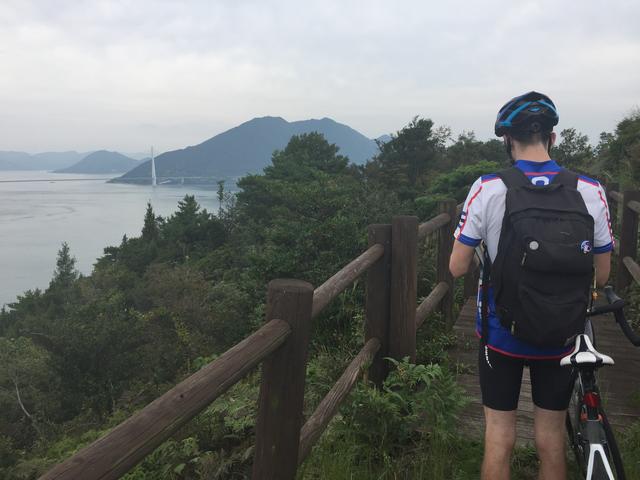
Near the end of the Hakatajima island recommended route, there is a turn off for Hirakiyami Park. This is the “advanced route” on this island. It is a short loop that was probably the most grueling part of our trip, with extremely steep, seemingly unending climbs. At the top you are rewarded with some nice views at the park (and a bathroom), but overall I’d say skip this particular section unless you specifically want the challenge.
Advanced Route - Omishima Island
Upon reaching Omishima Island you will soon be presented with a fork in the road, to continue on the recommended route or to take the advanced “Island Explorer” route. We, of course, opted for the latter. It’s a bit longer, at ~21km vs the ~14km it would take to use the “recommended” and “intermediate” routes to get there. If you have the time or are going to Miyaura, I would recommend this route wholeheartedly. It is undoubtedly challenging, with lots of steep climbs, but there are spectacular vistas, museums, and an onsen awaiting you. I believe you can do it!
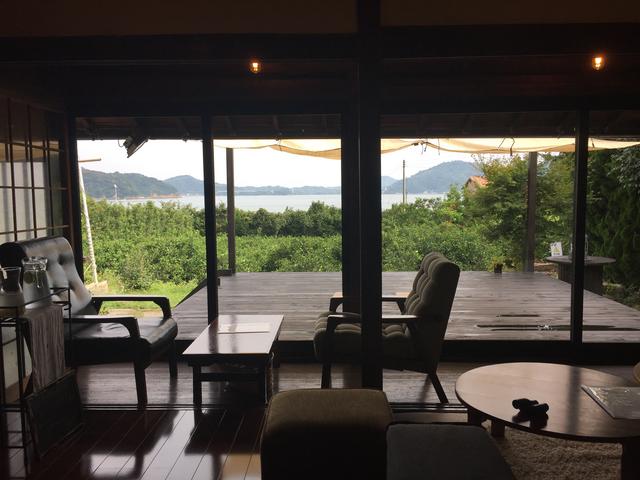
Located on this path, you’ll find a Omishima Coffee, with nothing else really around. It’s a lovely place to stop and rest up for the road ahead.
If you’re a fan of museums and sightseeing there are several on this route:
- Ken Iwata Mother and Child Museum
- Toyo Ito Museum of Architecture
- Tokoro Museum Omishima
- Hakata Engyo Corporation Omishima Factory (salt production factory tour…)
- Omishima Museum of Art
Being the uncultured swine that we are, we didn’t stop at any of these, sorry. But I figured I’d mention them because there are so many.
And you’ll eventually end up at Miyaura Port!
Day 1 (Night) - Miyaura Port
Ok so staying here is really the pro move, I think. Initially we had planned to ride the entire Shimanami Kaido in a day but breaking up the ride into two days really allowed us to take it all in.
The town itself is very small, but nice. There are a few restaurants but make sure to eat early as things don’t stay open too late here.
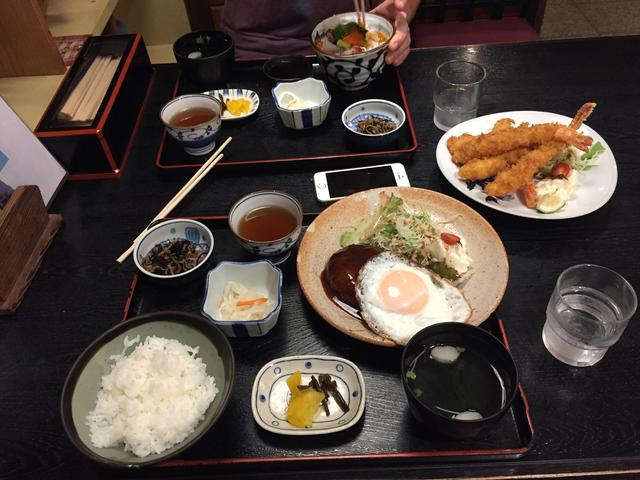
When ordering dinner we got 3 main dishes because we were so bike-famished. The waiter was a bit surprised and tried to warn us, but we assured her we knew what we were doing. The food was already delicious as is, but add in the fact that we were starving from our bike ride??? Transcendant. No spice like the one of true famine! We finished it all.
As a reward for all your hard work, there is the onsen in town. Which is now like my #1 most desired thing to see after a strenuous bike ride. The Mare GraCia Omishima onsen is located by the coast, and it costs ~500yen to bathe there. As with most onsens, remember to bring your own towel and soap unless you want to rent/buy one on premises. The spa’s feature is the saltwater bath which supposedly has healing properties but the thing that was most appreciated by me was the outdoor bath overlooking the coast. As it’s facing West it makes for a perfect way to enjoy the sunset and end your day.
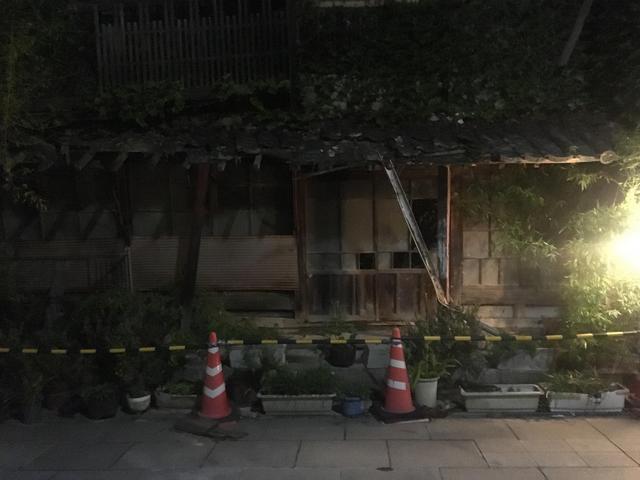
When you’re done pickling yourself in the bath, the town has quite a few shrines, temples, and parks to check out. One of the riverside parks is lined with cherry trees and while they were not in bloom during our visit, one could imagine that during the right time of year the scenery would be breathtaking. Also, plenty of abandoned stores, if you find urban decay interesting (I do!).
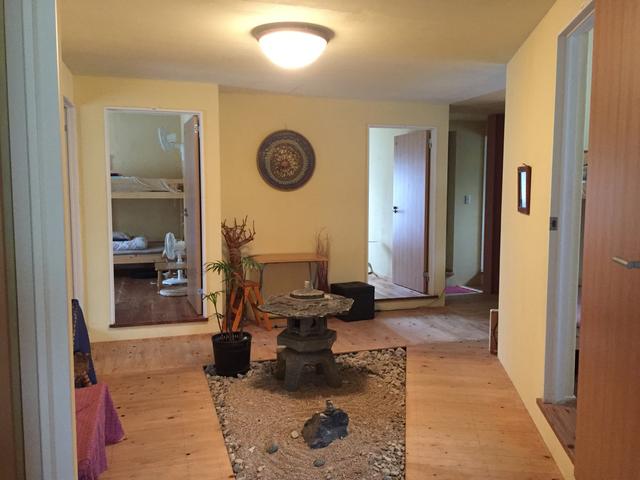
We spent the night at the Guesthouse and Cafe OHANA, which was great. Check out this cool rock garden inside the common area!
Day 2 - Easy Rider
After waking early from a night’s rest, we set off for Onomichi. Determined to make this day less strenuous than the last, we opted to choose the recommended routes whenever possible.
Intermediate Route - Omishima Island
We took the inner-island route to get from Miyaura Port to the recommended route via Route 21. I recall one medium grade, decently long climb. Not much more to say about this route to be honest! If given more time I would like to try the other Intermediate Route on the island, which goes around the perimeter but is longer distance-wise.
Recommended Route - Ikuchijima Island
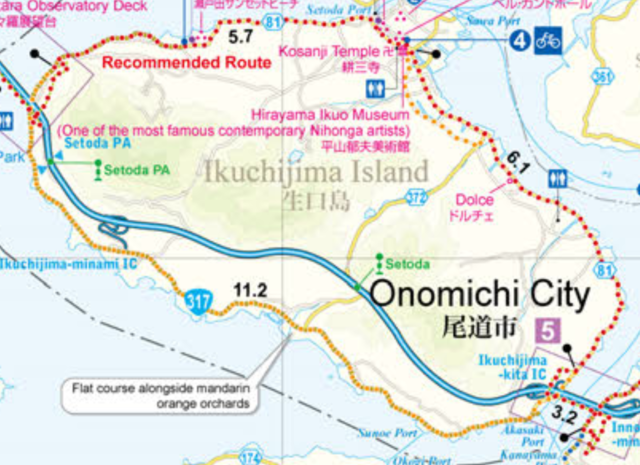
The recommended route is very straightforward on Ikuchijima Island. You’ll ride along a fairly flat coastline, passing some beautiful beaches in the process.
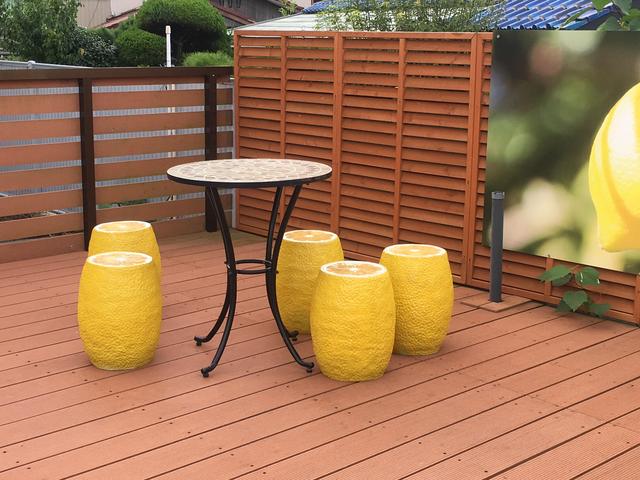
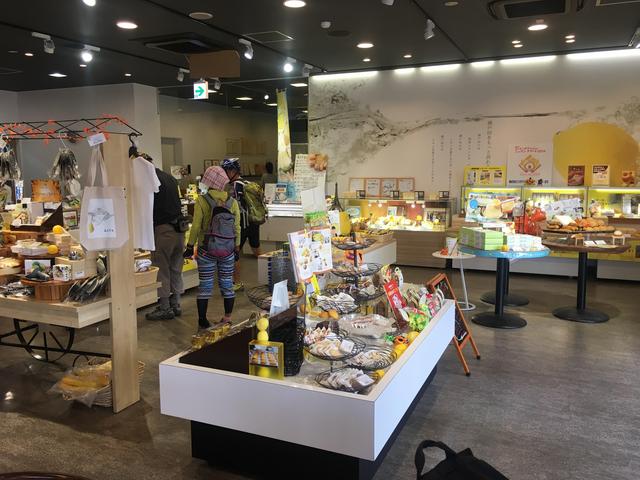
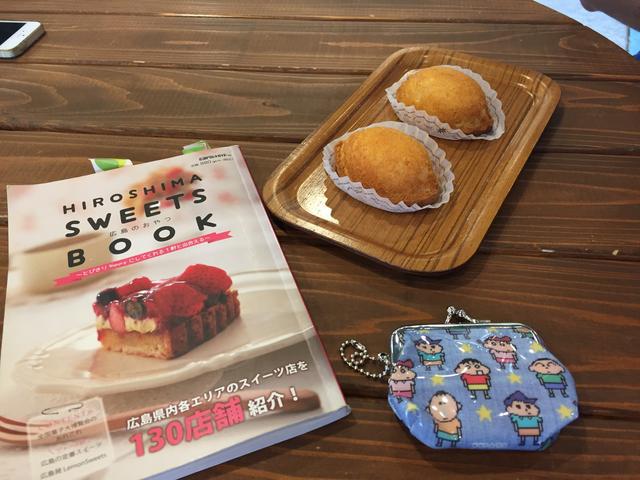
One thing to do while passing through this island is to stop by one of the lemon stores selling lemon-based goodies. A cursory Google search reveals that Ikuchijima island produces the #1 Lemons in Japan. I’m not sure what that means but we got some lemon pastries when the store opened, and they were fantastic!
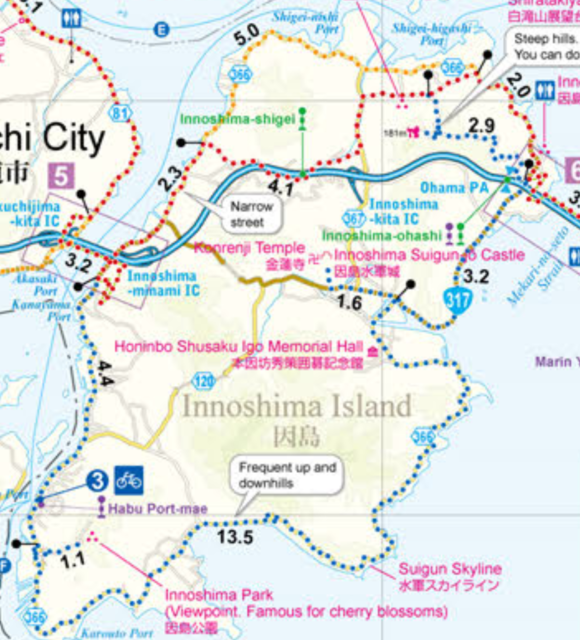
Recommended Route - Innoshima Island
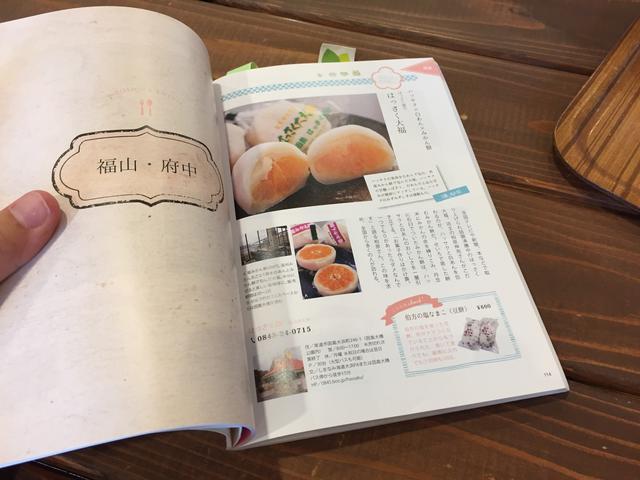
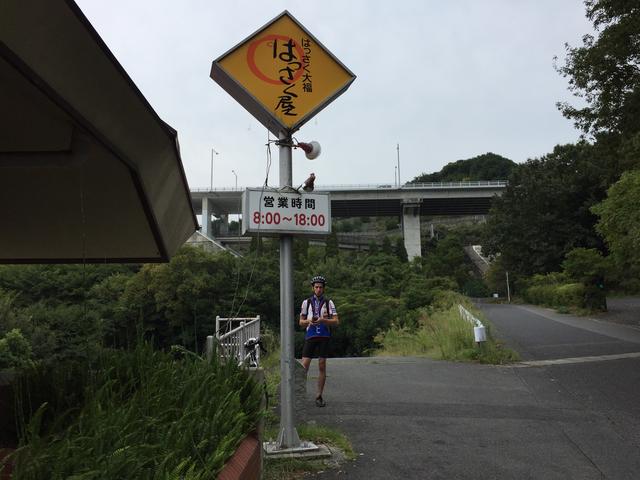
The recommended route is a breeze. Our primary goal here was the Hassaku Daifuku Mochi! Just look at these beauties!
They were highlighted in this sweets photo book in the Ikuchijima lemon store. It seemed truly meant to be, we were so excited to try them and when we arrived…
…the mochi place was closed for a holiday weekend, how unfortunate for us! :( If you take this trip, please eat a mochi for me. You can find more information here, it’s right by the recommended route.
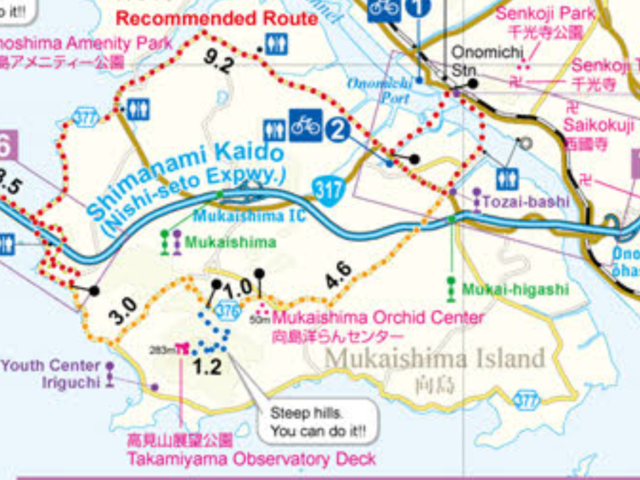
Recommended Route - Mukaishima Island
Thoroughly defeated by the Japanese holidays, we pressed on to Mukaishima Island. As usual, the recommended route proved to be easy riding.
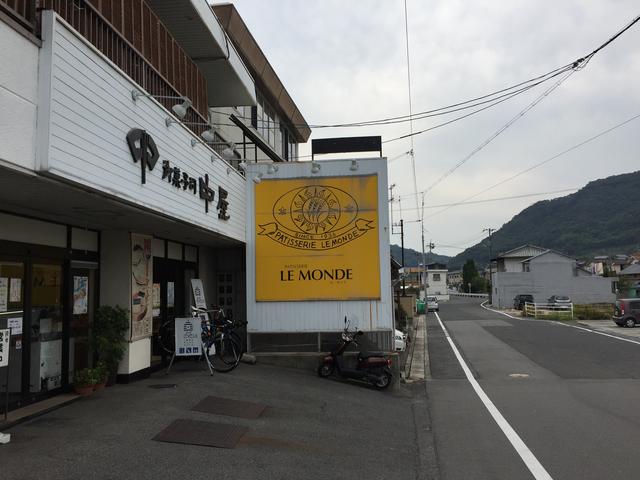
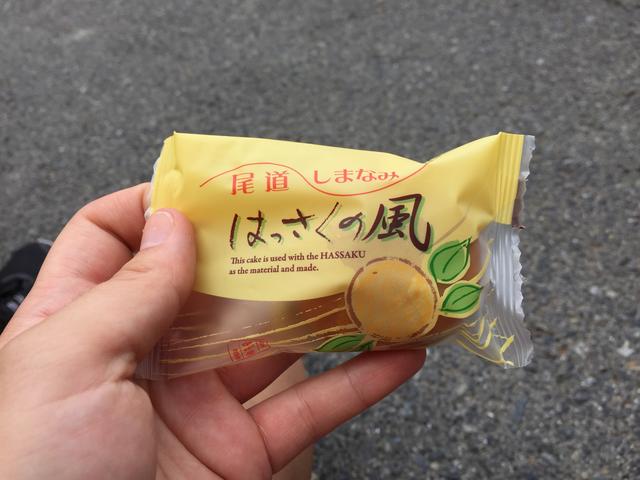
It’s not all tragic though, we did get a consolation hassaku-based sweet in the form of a cute bakery we found on the way.
Check them out!
End - Onomichi
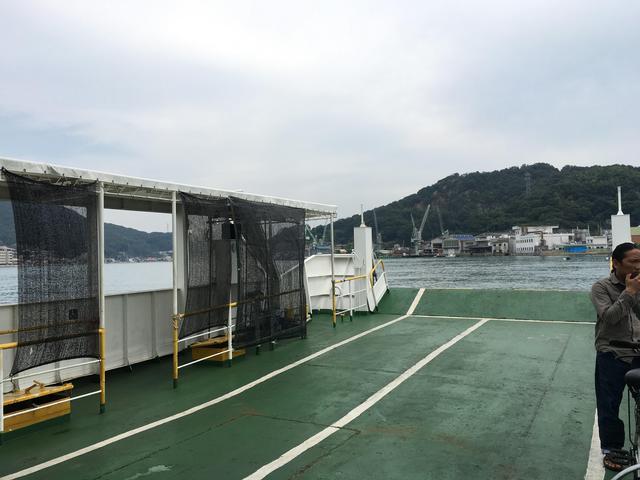
The journey ended at a ferry terminal on Mukaishima Island. This is because the bridge to Onomichi is not suitable for bikes. For a small fee (¥110 at time of writing) you can board with your bike and within minutes you’ll be in Onomichi, only a few minutes ride from the train station.
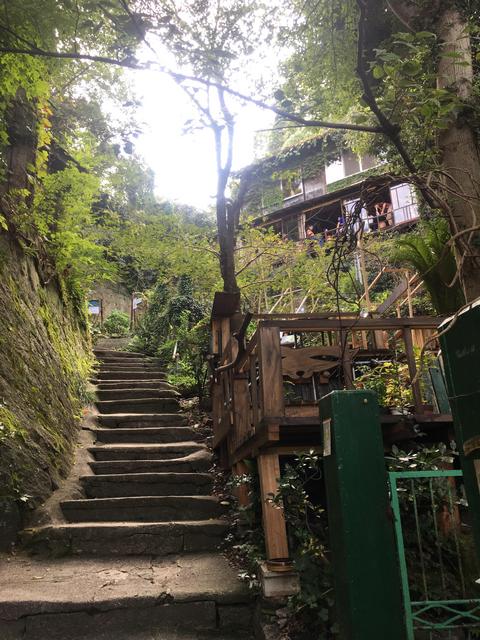
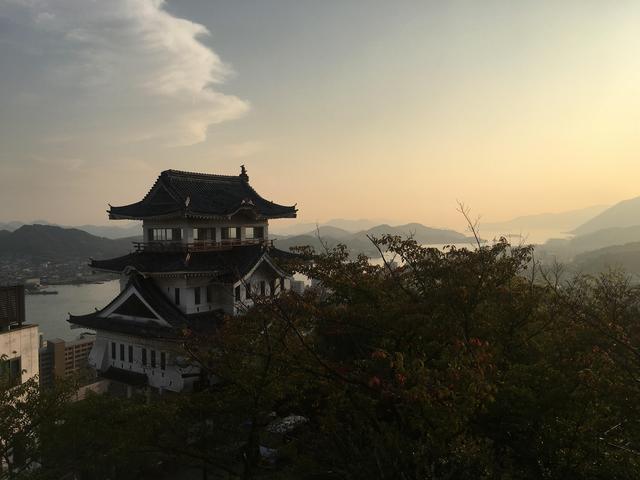
I just wanted to use this space plug the city of Onomichi as being a generally amazing place to visit. It has so much history to explore and the part of town on the mountain that predated cars is a phenomenal labyrinthian construction that you will want to get lost in forever. Every corner you turn reveals a something interesting, giving you that wonderful feeling of discovery over and over and over again. Many of the buildings had been abandoned, and now groups have formed to swoop in and renovate them into galleries, cafes, and guesthouses that you can visit. There’s a real hip, artsy vibe to the entire city. It’s corny to say, but there just seems to be a good energy about the place! I would plan to spend an entire day here if you can.
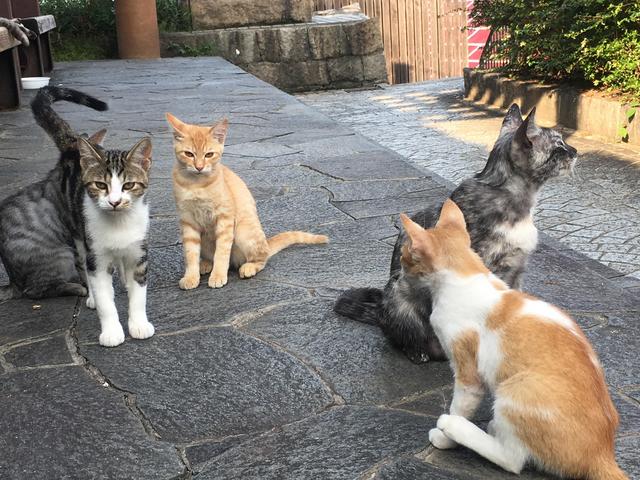
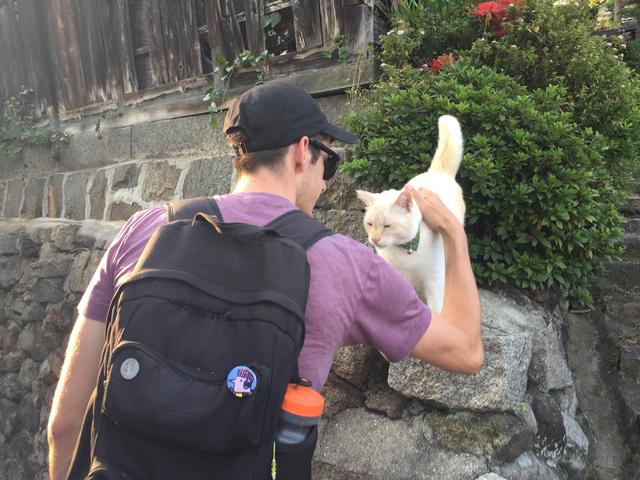
There’s stray cats everywhere, it’s super cute.
Only this one wanted to be my friend though.
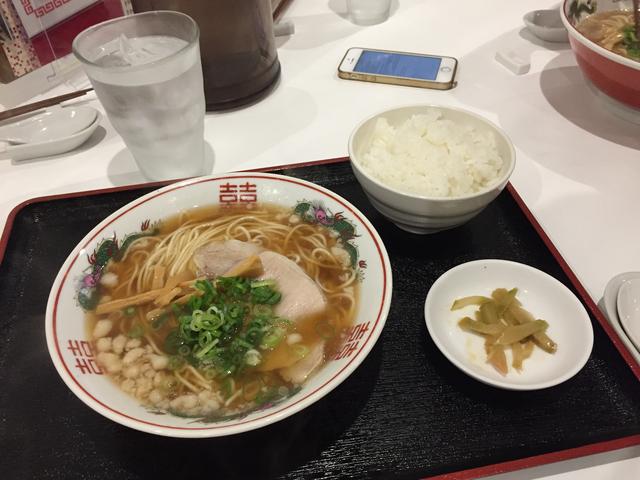
Also be sure to try Onomichi-style ramen while you’re there, it’s a local specialty. The key characteristics being a soy broth with a hint of fish paste, and melted lard floating on top.
Wrapping Up
There you have it, my personal recounting of biking the Shimanami Kaido. Of course, there’s plenty of things we missed, and more than one way to undertake this journey, so this is by no means a definitive guide, but hopefully you have a good idea of what it’s like to bike the Shimanami Kaido now and maybe some inspiration for your own visit!
If you have any particular questions, contact me by email and I’ll see if I can help.

